Mosaic tiles are more of a fashion statement than a practical substance. A mosaic design can be made out of any type of tile, such as ceramic, porcelain, stone, or glass. The tiles are usually tiny in order to make the most of the design. This article is going to discuss information about mosaic tiles for craft that you need to know.
The Superiority of Mosaic Tiles
1. Endless Possibilities
The creative options are the most appealing aspect of mosaic tile. Many pre-made mosaic patterns are available, or you may be extremely creative and build your own. Mosaic tiling, like any other tile installation, are only as sturdy and watertight as the materials they’re made of. Mosaic floors may be found in bathrooms, kitchens, laundry rooms, mudrooms, and sunrooms.
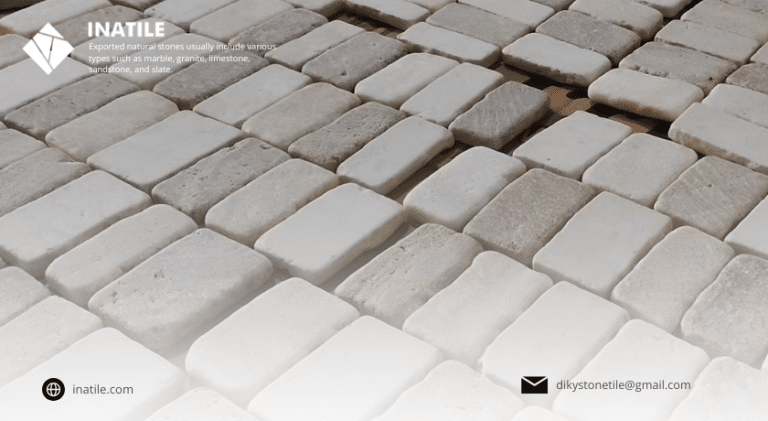
Mosaic floors come in many different materials, colors, and designs. You name it: ceramic, glass, marble, quartz, travertine, slate, and mixing these varied categories can give any area a more dramatic effect. No carpet or hardwood floor can match the flare and elegance of mosaic tile in a tiny area.
2. Durable Floor at Any Condition
When it comes to wet or spill-prone settings, mosaic flooring is definitely the better option. The tiles are easy to clean and the tiles stay fully functional and undamaged even after exposure to extreme heat, light, or wetness. mosaic tiles for craft, particularly glass tiles, can endure moist environments such as bathroom flooring and swimming pools due to their intrinsic nature.
Even if you are not trying to bring difference to the environment, mosaics are more durable and stronger. This is especially true when it comes to the normal wear and tear of a busy household. Mosaic flooring, unlike other materials, are not readily dented. In the event that a tile cracks, you may quickly replace it without having to worry about matching the texture or design.
3. Low Maintenance
Carpets must be cleaned every two or three months, hardwood floors must be polished every week, granite floors must be cleansed weekly, and mosaic tile floors? If you find any dust, simply wipe it away with a moist cloth or something similar. There is no need to know what product to use, what sort of cleaning mop to use, how long to soak it, and so on.
4. A hint of Luxury
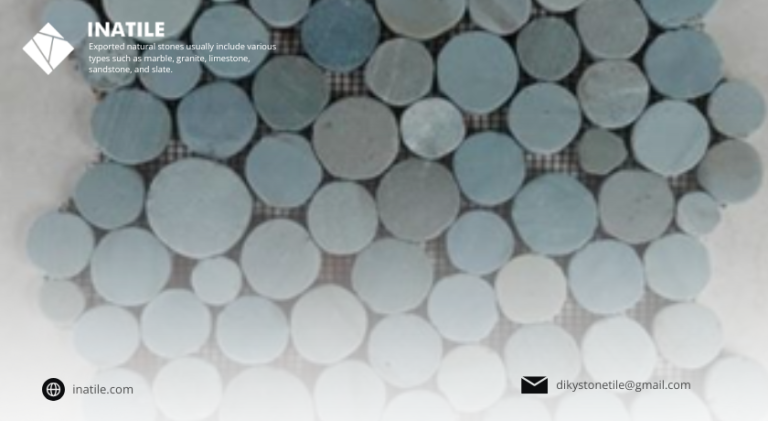
Glass mosaic tiles for craft enticing sheen can transform any area into a haven of beauty and refinement. Mosaic tiles composed of illuminating materials can create a spa-like atmosphere in your bathroom or relaxation area. It may also assist to brighten a space by reflecting natural light, and white mosaic floor can easily give the impression of a larger bathroom.
5. Safety First
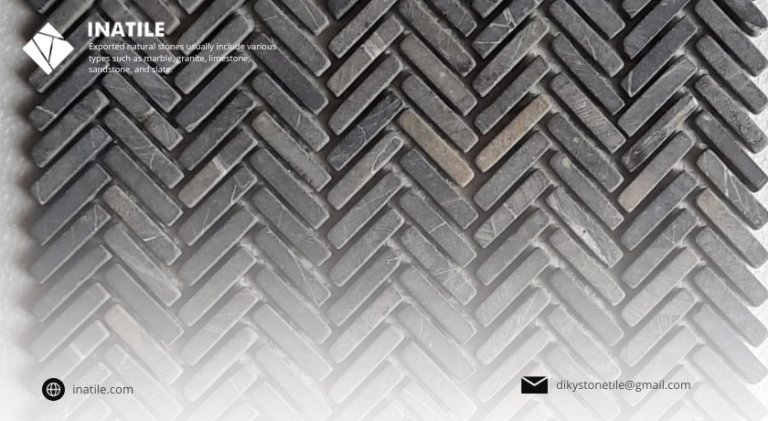
There’s a misconception that mosaic floors are slippery, but this is just not true. Because there are normally 2mm of grouted intervals between each tiles, even polished mosaic floor tiles are not slippery. Even the most gleaming, polished tiles are made non-slippery by grout. If you like a matte effect on your flooring there are mosaic tiles with textured surfaces.
Installation of Mosaic Floor Tiles
1. Choosing the Correct Mosaic Tile Materials
When choosing a floor tile for example, it is crucial to consider the type of traffic the floor will see. For open spaces in your house, the tiles you choose should have a high compressive strength and be resistant to wear and dampness. In a master bathroom’s mosaic tiles for craft, where most people wear soft footwear, most of the grit and dirt tracked into a home is stopped at entry-door rugs.
2. Preparing the Platform
Mosaic sheets must be prepared in the same way as any other ceramic tile: the floor must be smooth and flat to within a quarter inch every ten feet. Small-sized of mosaic bits often result in a surface that is lumpy. Meanwhile large-sized tiles do a wonderful job of covering up the regular underlayment ripples as long as the floor surface is within specification.
3. Installing the Tiles
When tiling with mosaics, gaps that would not even be a consideration when using 12-inch tiles become huge difficulties. Mosaics need a more meticulously prepared surface as well as more time spent installing sheets of mosaic bits per square foot; as a result, installers must charge extra depending on the complexity of the installation and the floor arrangement.
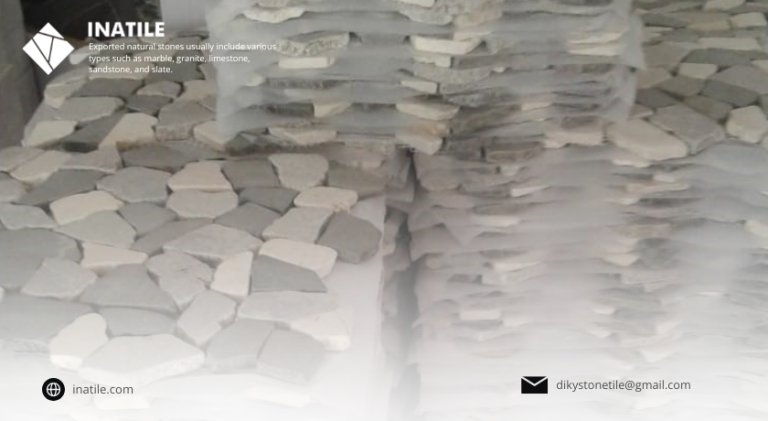
One of the best practices is to lay out all of the mosaic tiles for craft sheets needed for the installation then dry fit and measure the composition. It is often easier to do this away from the installation site, but I like to lay out the sheets where they will be put whenever feasible. I draw lines on exposed portions of subflooring to designate wall sites for wall installations.
4. Spreading the Adhesive
Keeping adhesive out of the grout joints is one of the most difficult components of laying mosaic sheets. On large installations, Japanese mosaic makers vacuum-form square chips into square-foot sized sheets of thin plastic that serve as a barrier to guarantee that grout seams are properly voided and are not removed until the tile glue has set.
Back mounting can be done with fiber mesh, perforated paper sheets, or flexible dots as an alternative to paper face mounting. The backs of the bits are cemented using fiber mesh and perforated paper sheets, which are maintained in place in a grid to keep the bits aligned during the process.
Dot mounting involves arranging the mosaic tiles for craft parts in a grid and then lifting them all with suction cups. Another machine places properly aligned sticky dots on a non-stick plate throughout this process. The mosaic pieces are lowered into the grid of dots once the dots have been placed, and the tray is shifted to enable the dots to firm.
Whatever the installation on mosaic flooring, it can provide a new depth to a room in an utterly unique way. Metal or stone tiles may be added to the mix to make it even more fascinating. Installing mosaic floor is the only option if you want the advantages of longevity, low maintenance, design versatility, and greater beauty.